
Roku Setup Guide
It's extremely easy to turn a Roku streaming device into a digital menu board with Taplist.io. Follow these steps.
Step 1: Get a Device
You'll need a Roku streaming player or a Roku TV that can download and run apps. Connect it to your TV and Wi-Fi, and sign in with a Roku account.
Once your device is up and running, proceed to the next step.

Step 2: Install the App
The Taplist.io app installs like any other Roku channel.
- Press the Home button on your Roku remote and open the channel store.
- Search for taplist.io.
- Select the Taplist.io app and add it to your device.
Step 3: Pair Your Display
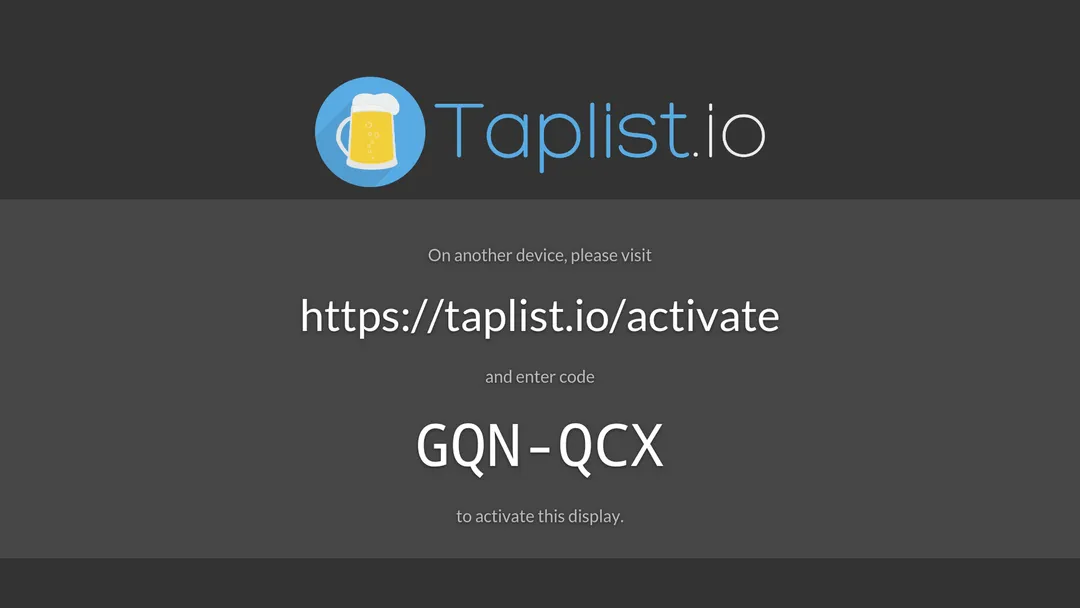
Open the Taplist.io App on your device. The first time it launches, you should see a pairing code.
Using your mobile phone, laptop, or any other device, visit the activation page and enter the code shown on screen.
Step 4: Keep Your Menu On Screen
Roku devices close an app that nobody has touched for a while. Change these settings so your menu stays up all day.
- Bandwidth saver: Go to Settings, Network, Bandwidth saver and turn it off.
- Screensaver: Go to Settings, Theme, Screensaver start time and choose Disable screensaver.
- Auto power savings: Go to Settings, System, Power, Auto power savings and uncheck After 20 minutes of no interaction.
A Roku TV may have more power settings from its manufacturer. See our Roku troubleshooting article for more.
Done!
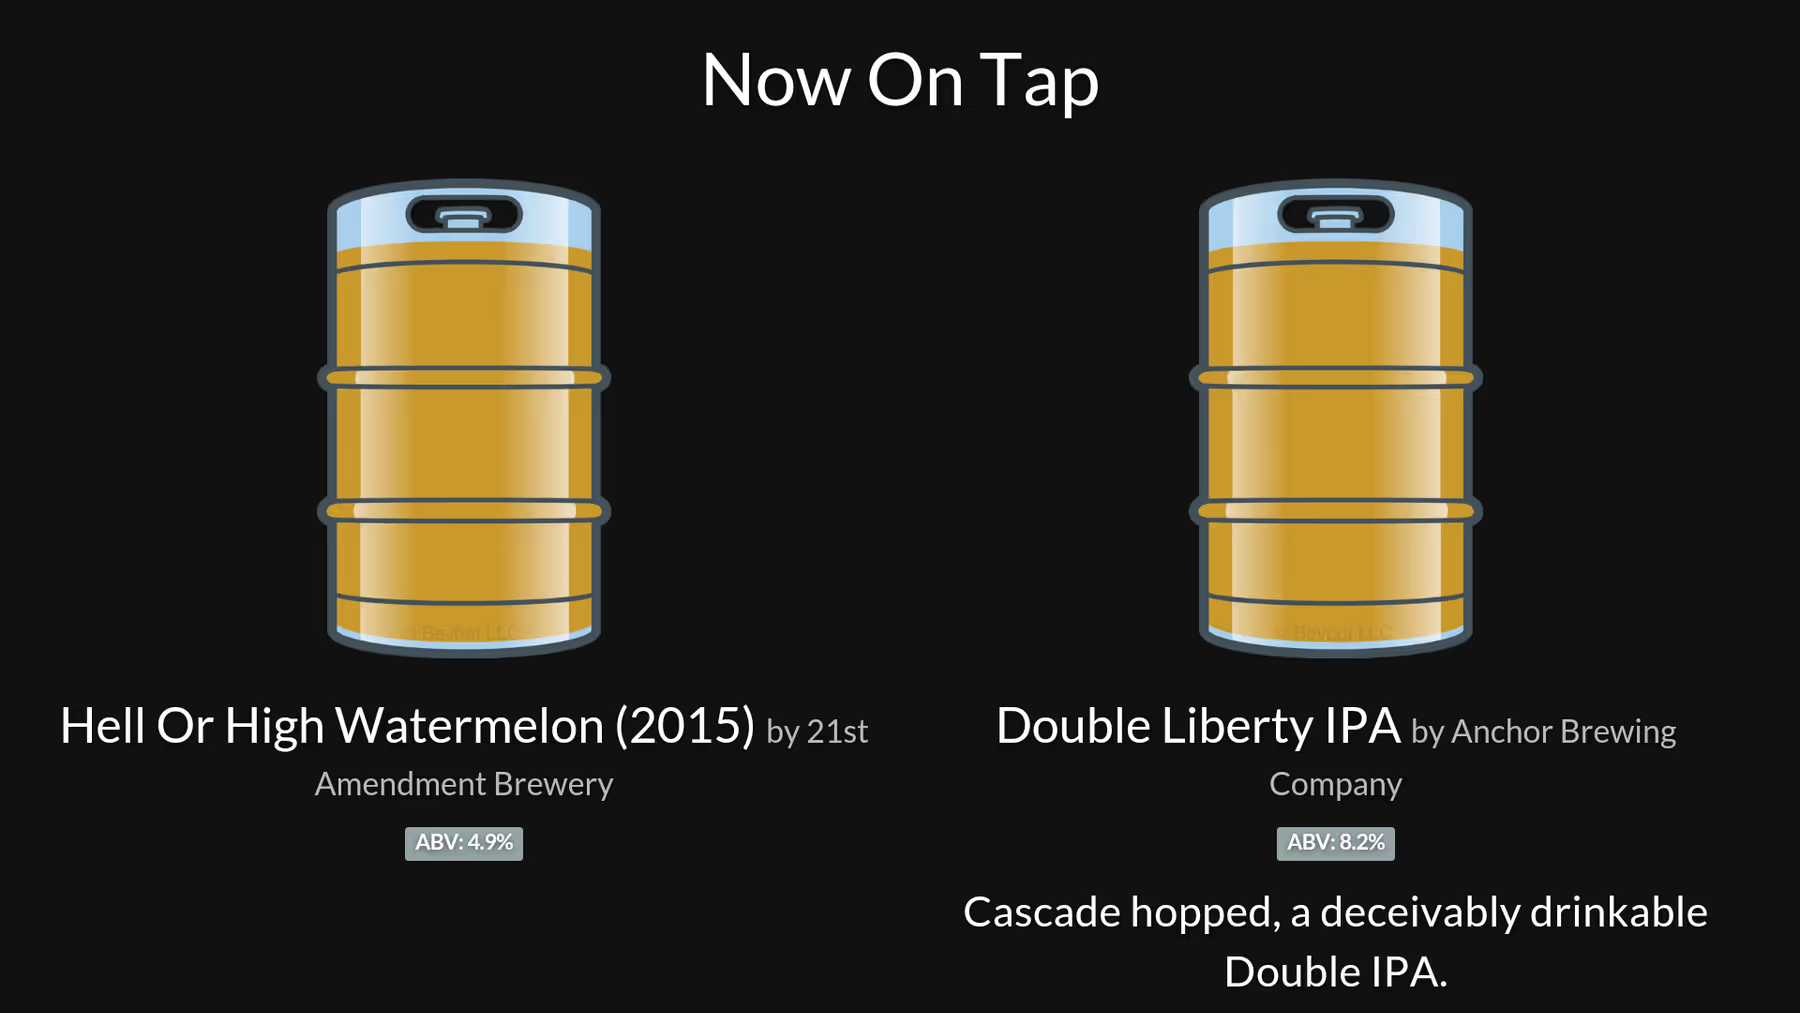
You don't have to do anything else once your device has been successfully paired! You should now see your taps on screen.
The Roku app is designed to be "set it and forget it": You completely manage and control all aspects of your new display through the Taplist.io Dashboard, not the device itself.
Amazing menus await
Activate your free trial and start building your menu now.
Prefer a walkthrough? Book a demo
Backed by our money-back guarantee.
Understand why leading bars and breweries generate more sales and cut costs by using Taplist.io to manage their menus.